Manage Documents
Creating and Managing Documents: A Step-by-Step Guide
This guide provides a comprehensive walkthrough of the process for creating and managing documents and document types within the system. Each step includes a screenshot to aid in navigation and understanding. Follow these instructions carefully to ensure accurate completion of each task.
Start url: http://localhost/vanguard-genova/cia/admin
Tab Name: Document Types - GENOVA INSURANCE
Click on the link "Document Types"
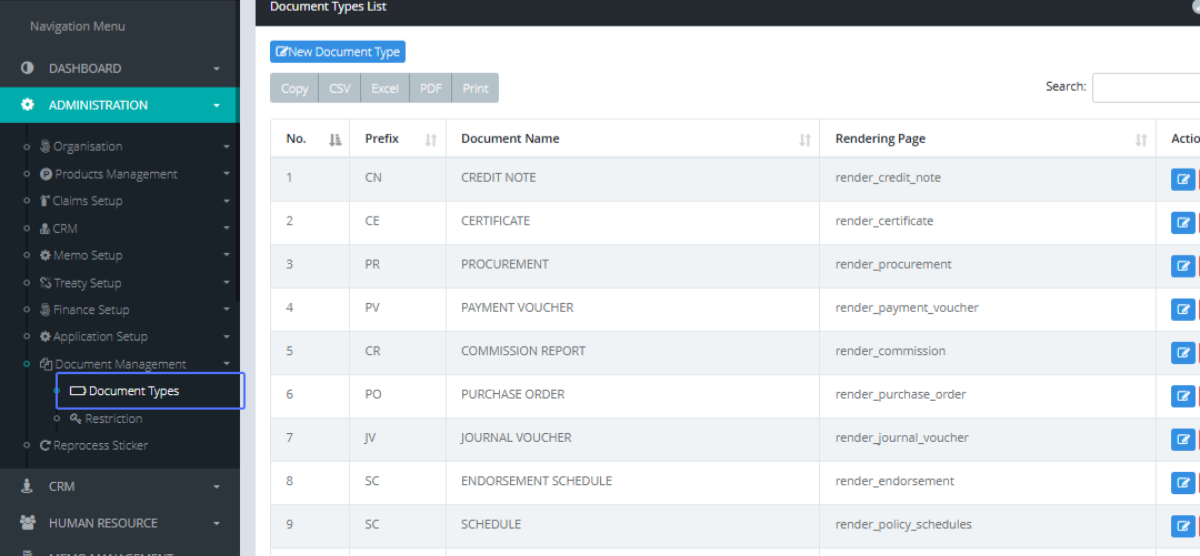
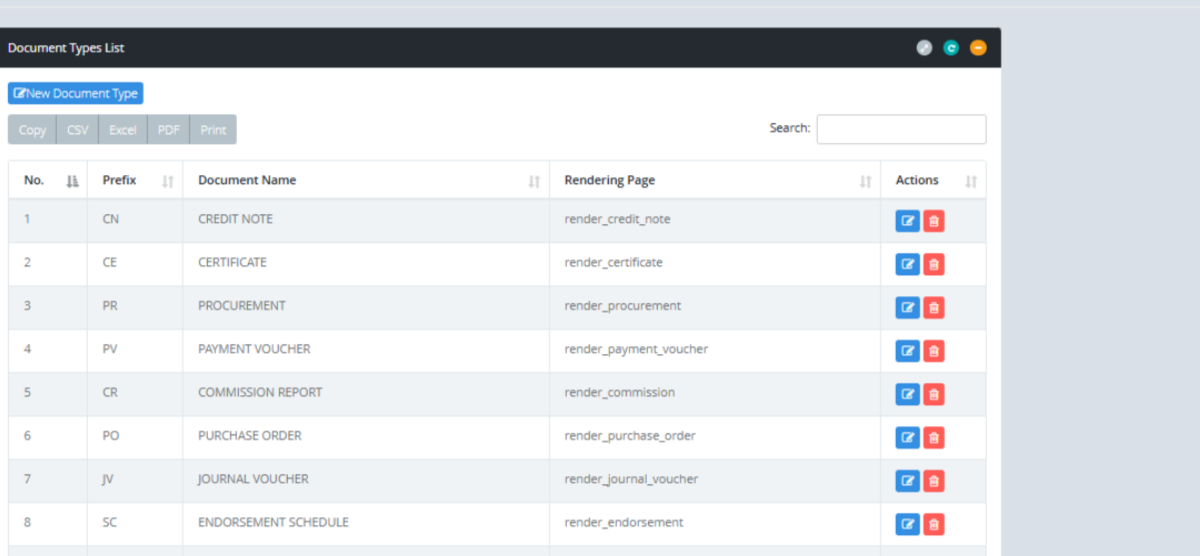
On the Document types page. Click on the input "Search" to search any Document types within the system.

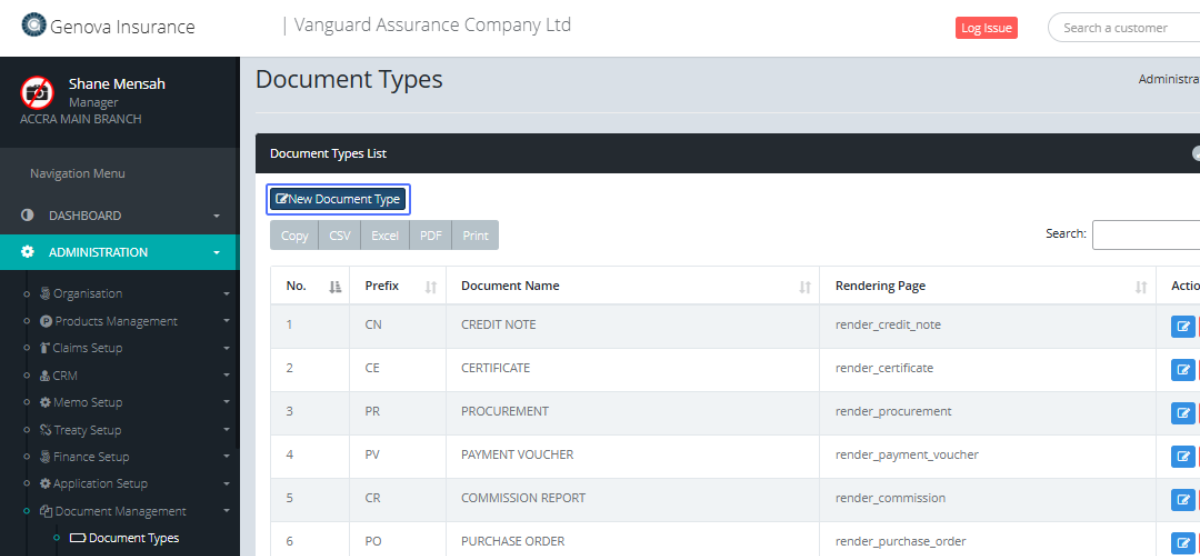
To Create a new Document Type, Click on the link "New Document Type" button.
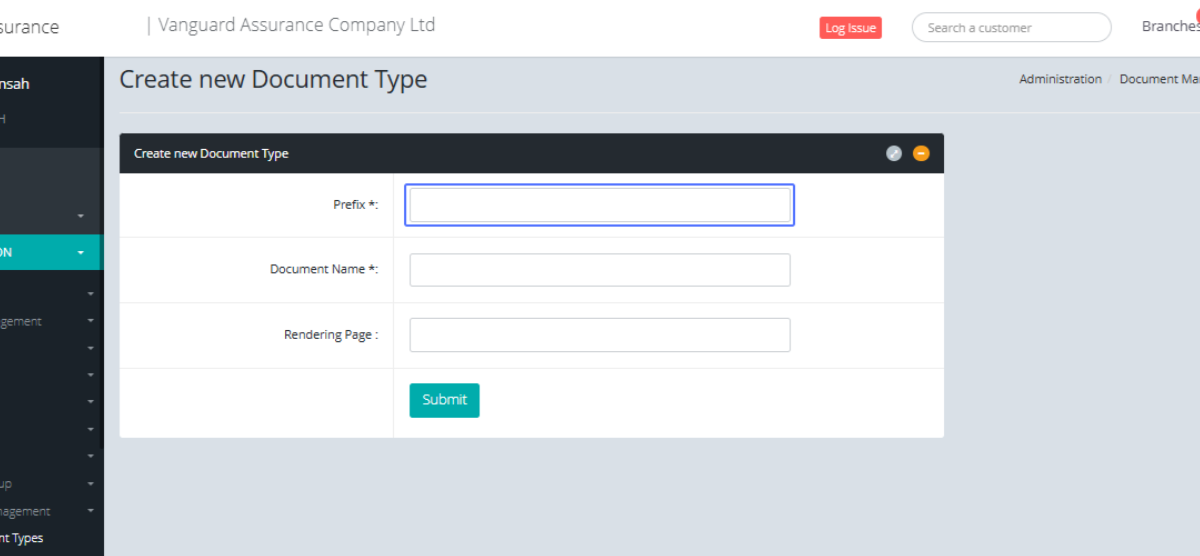
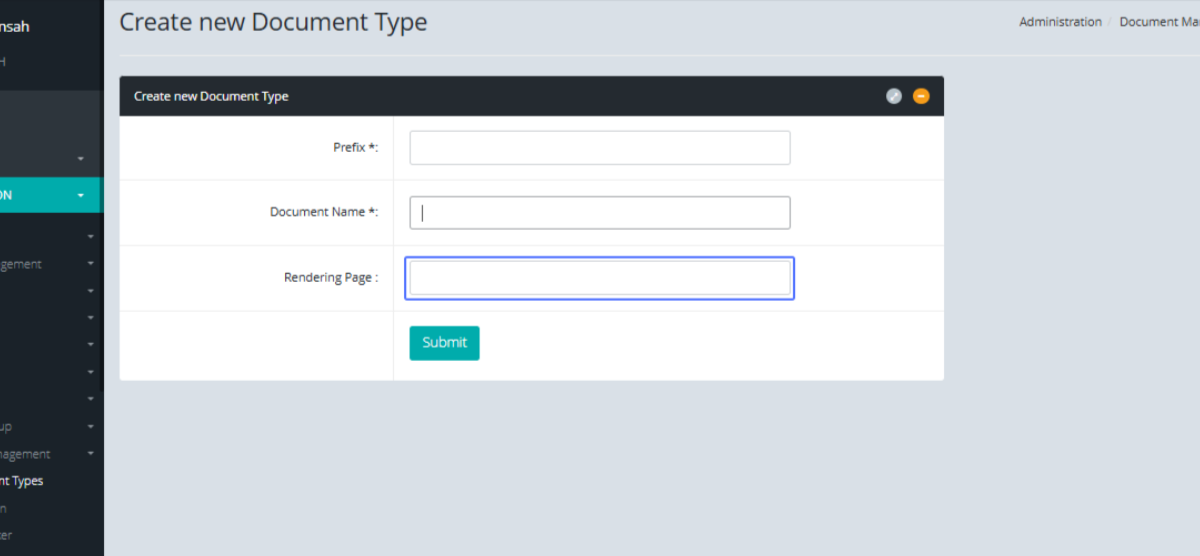
On the Create new Document Type page, Click on the input "Prefix" and enter the document prefix.
Click on the input "Document Name" and enter the Document Name.
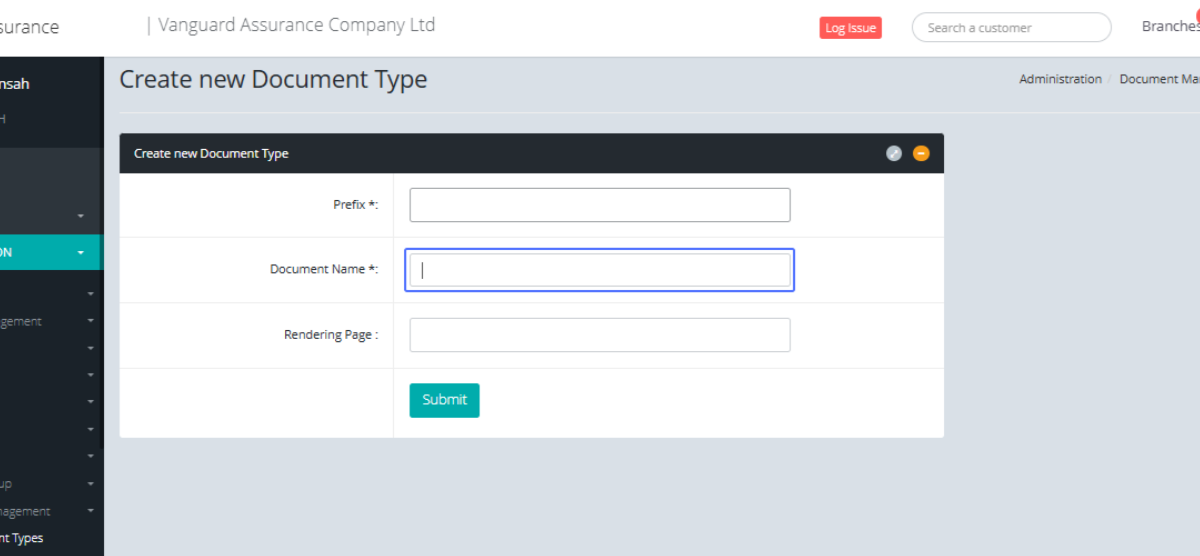
Click on the input "Rendering Page" and enter the page link.
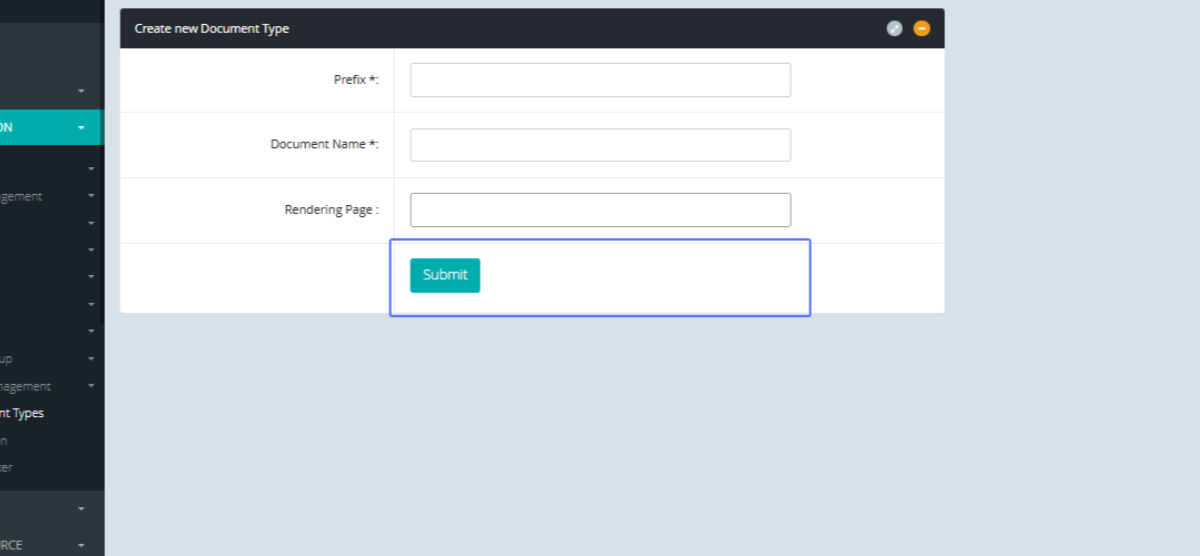
After completing the form, click on "Submit" to save the new Document type.
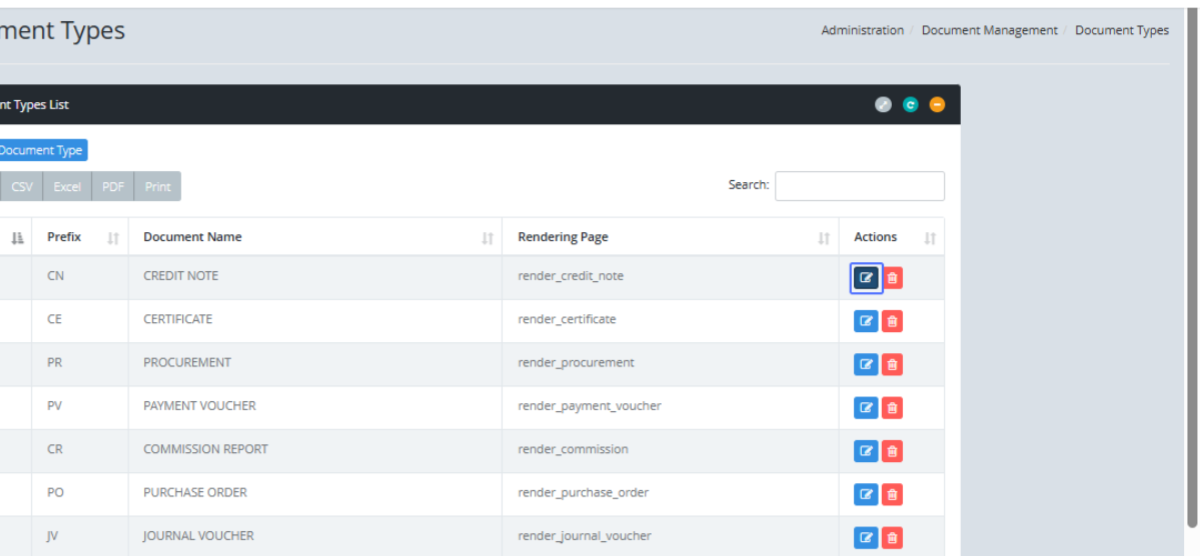
You will be navigated back to the Document Type List page.
Click on the on the edit button, to edit the existing Document types
On the Edit Document Type Page of the selected document type you can edit the existing Prefix.

Users can edit the existing Document Name.
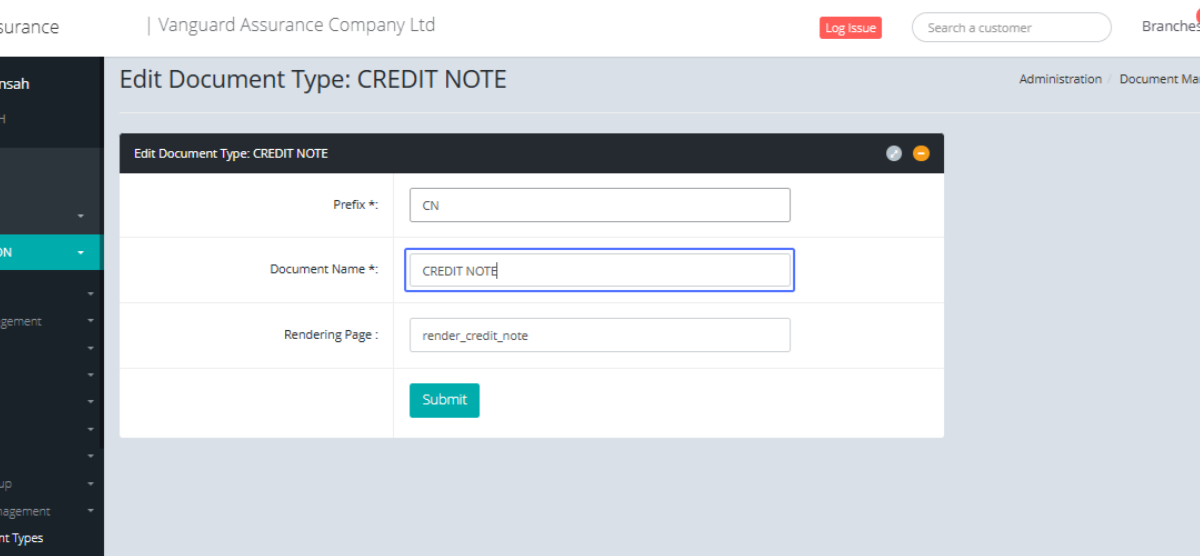
Users can edit the existing Rendering Page (Developer Use)

Click on "Submit" after all edits have been made.

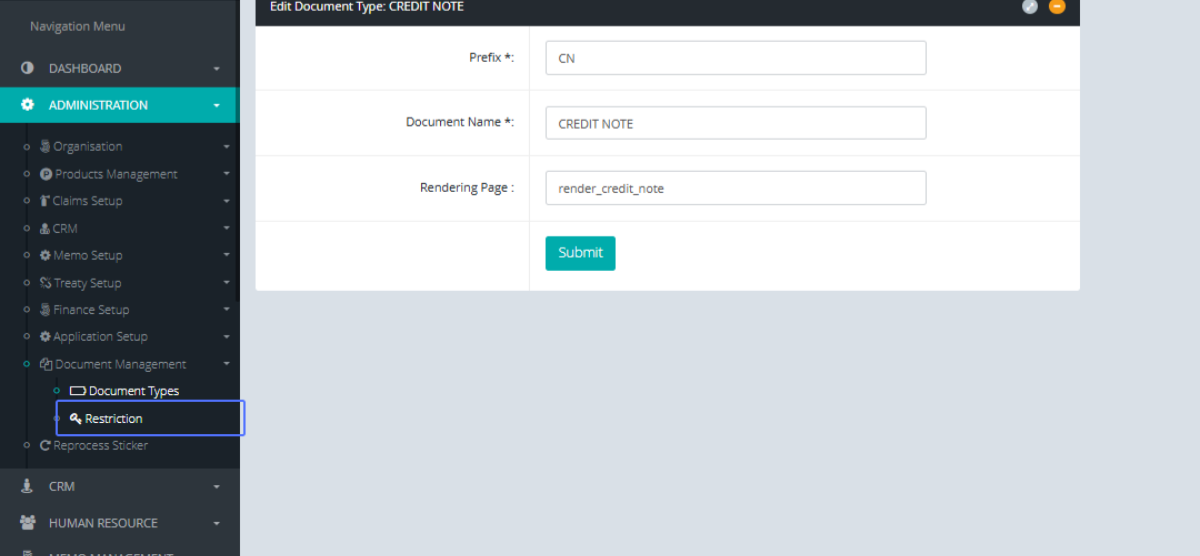
Click on the link "Restriction" button to access the document restriction.
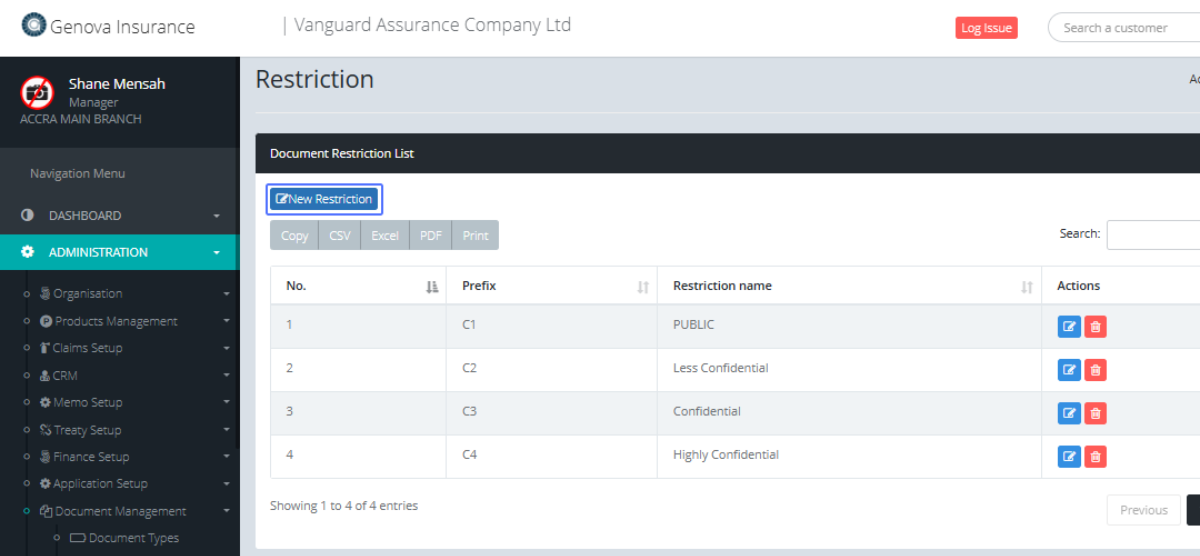
Tab Name: Restriction - GENOVA INSURANCE
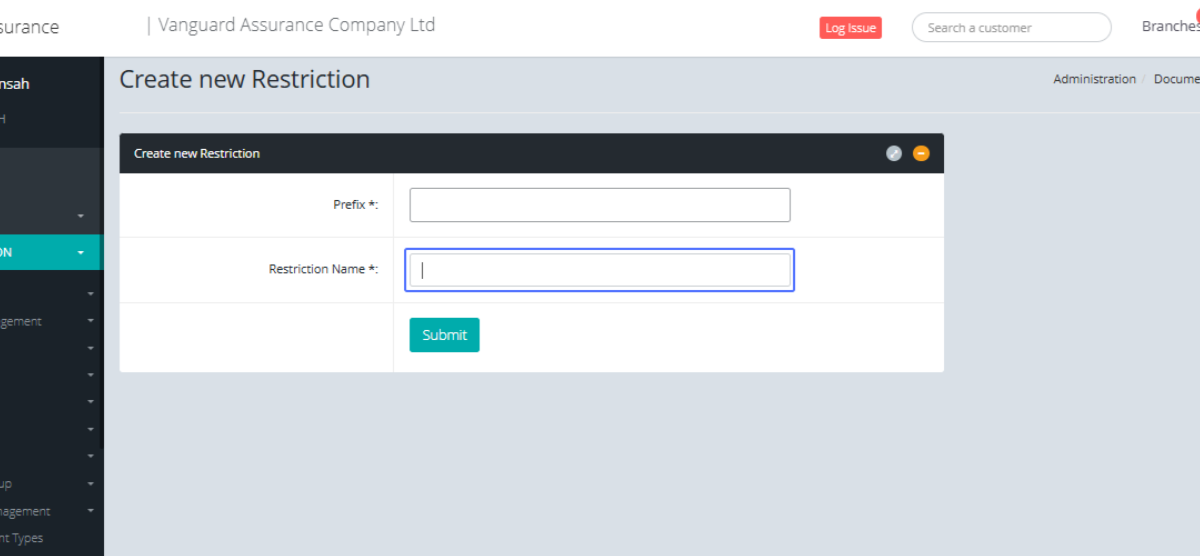
On the Restriction page, click on the link "New Restriction" button to create a new restriction.
Click on the input "Prefix" and enter the restriction prefix.
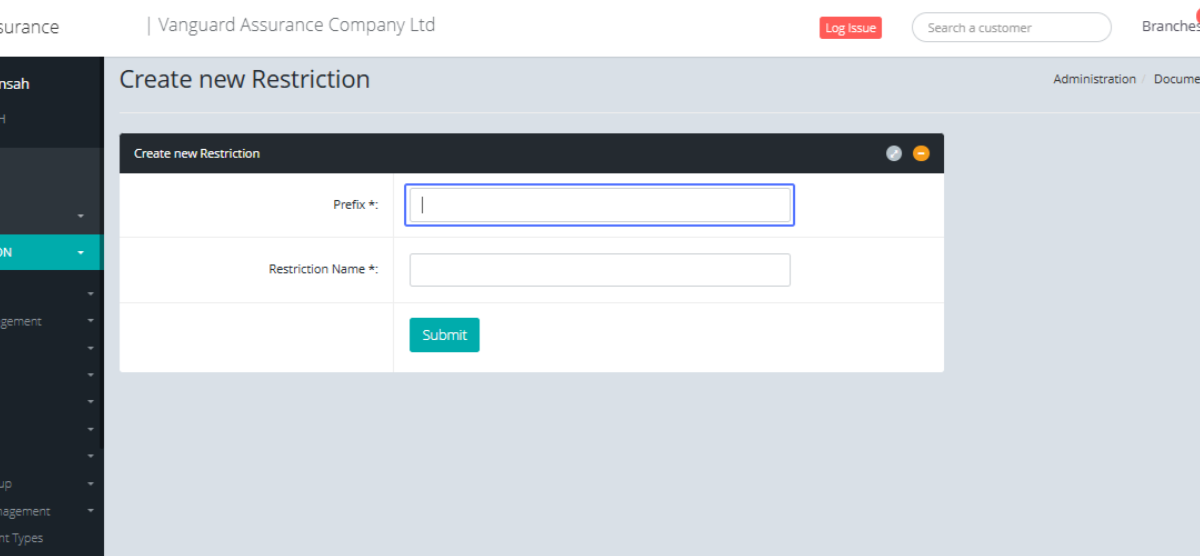
Click on the input "Restriction Name" and enter the restriction name.
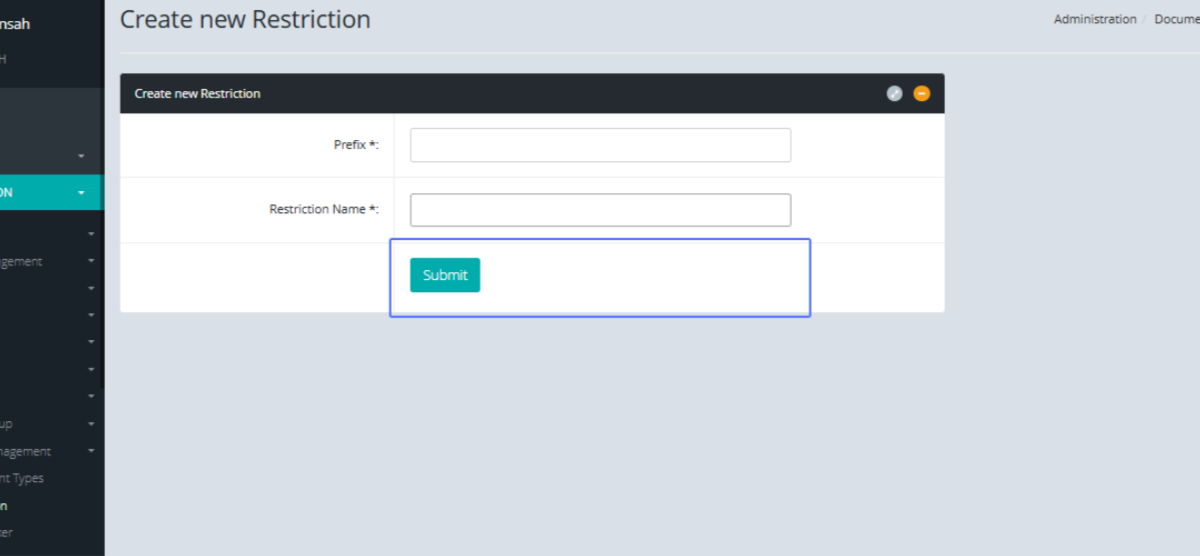
Click on the "Submit" button after all the parameters are met so save the new restriction.
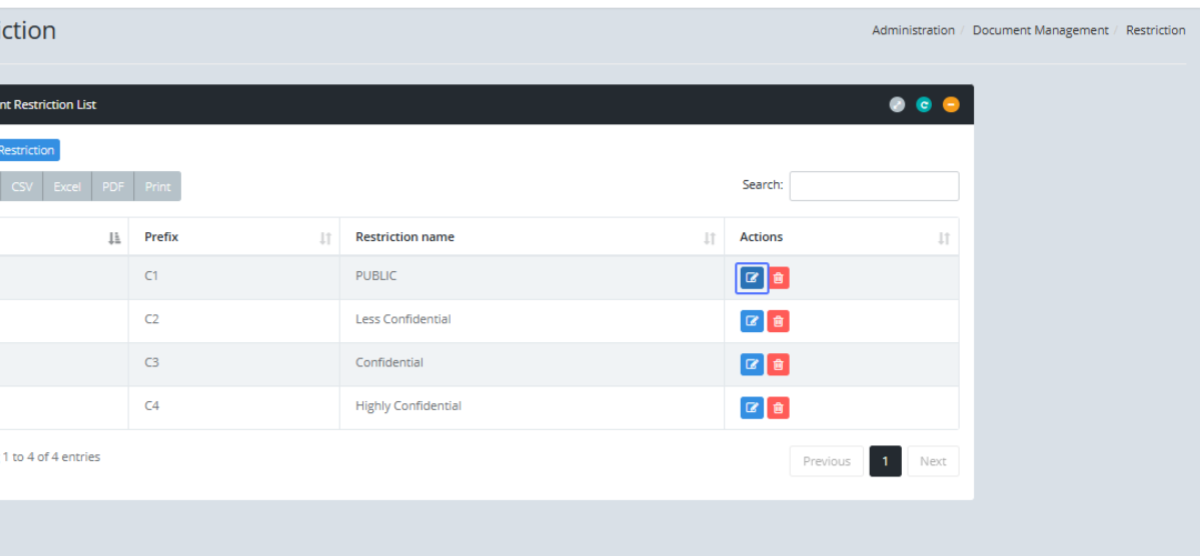
After you are navigated back the Restriction Page, Click on the Edit Button within the Actions to make changes to existing Restrictions.
You will be presented with the Edit restriction from, which you can use to make edits to the existing restriction.
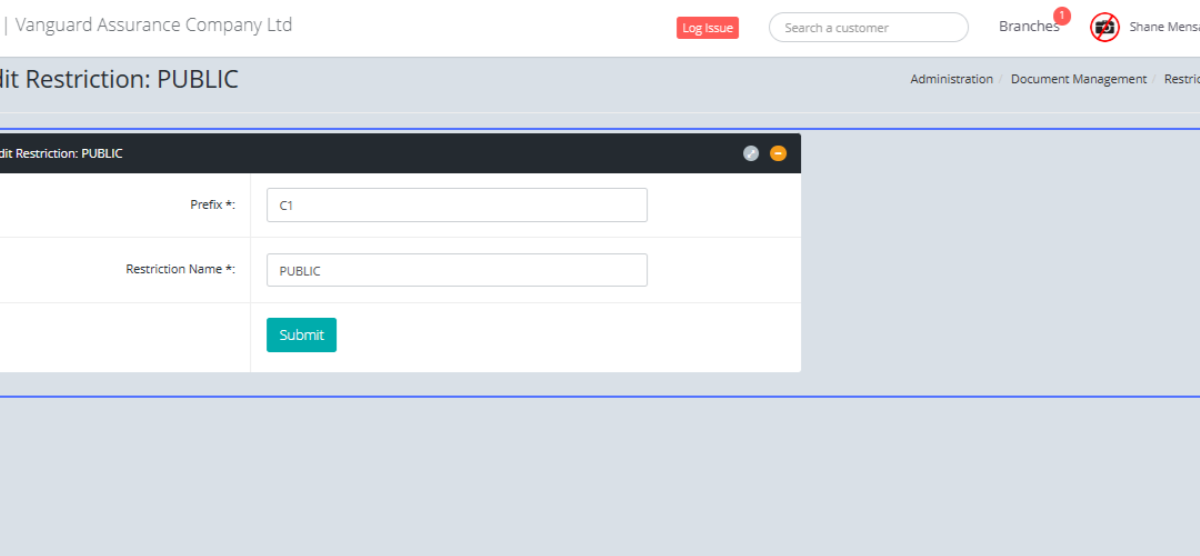
Edit the Prefix by making changes to the Prefix Input field.
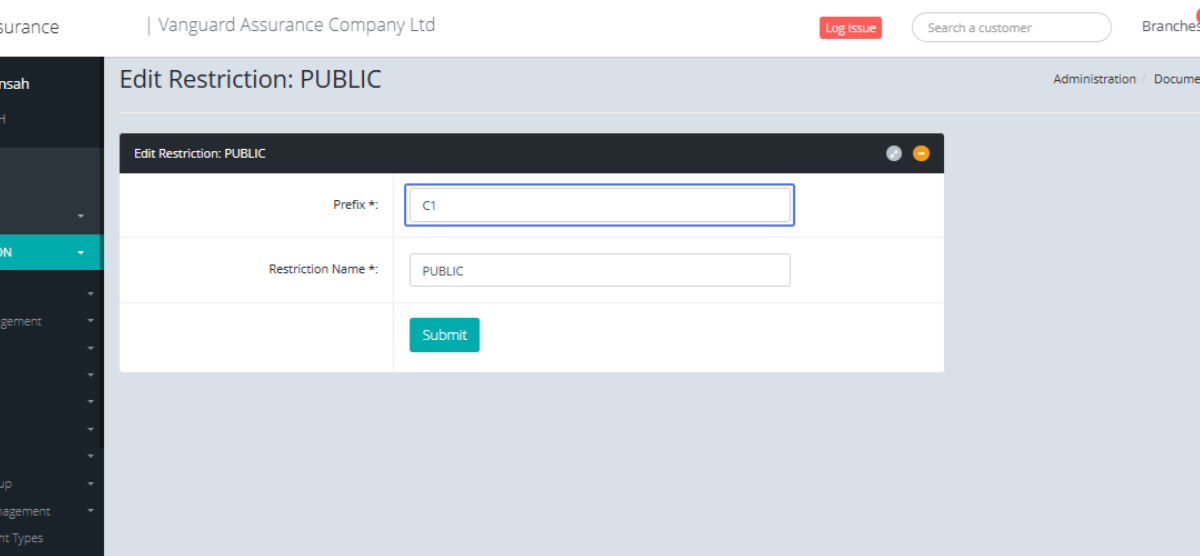
Make changes to the Restriction Name by editing the Restriction Name

Click on "Submit" button to save the Edited Restriction.
